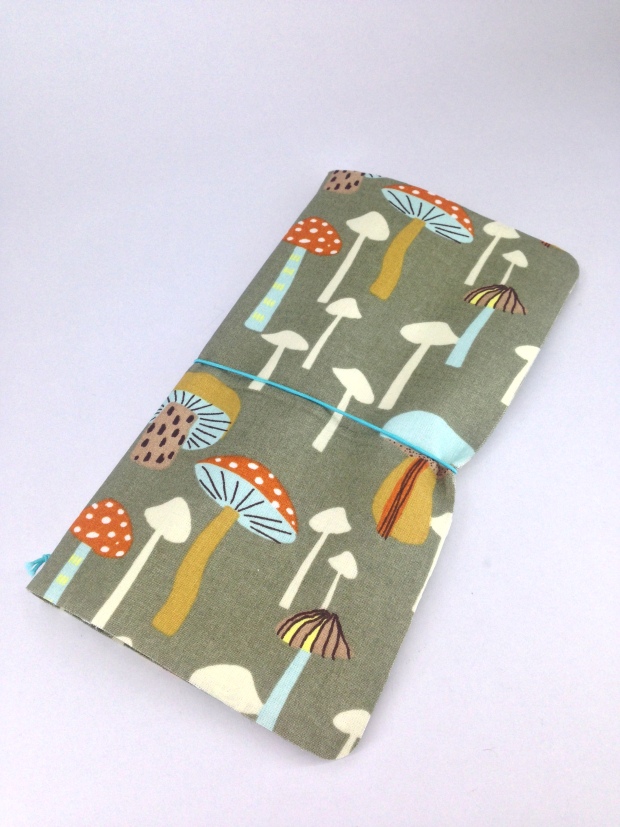
Making a fabric dori without a sewing machine
I have a beautiful blue leather Midori that I bought earlier this year and I love the idea of the Midori system.
In my Bruges haul posts I mentioned that I’d bought lots of pretty fabric without a project in mind and realised they’d be ideal for making doris out of. I found a tutorial I liked here and headed down to Hobbycraft to buy the extra bits I needed for a first attempt.
- Iron on interfacing
- Iron on adhesive
- Elastic – I wanted black elastic but this was literally the only colour they had in stock and as per usual, the staff were unhelpful in finding me any other colours.
The only other item I used other than the fabric was this hole punch.
As this was a pure practice run I picked out my least favourite from the fabric stash.
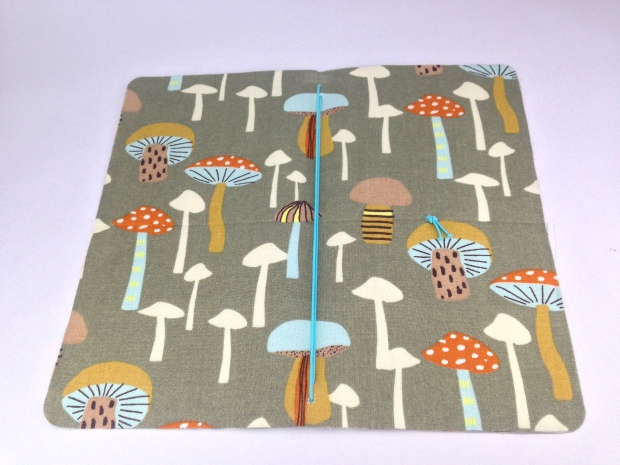
I pretty much followed the tutorial aside from the sewing part (I don’t own a sewing machine currently and didn’t fancy doing it by hand) and the elastic holes – I just followed where the holes were in my actual Midori instead.
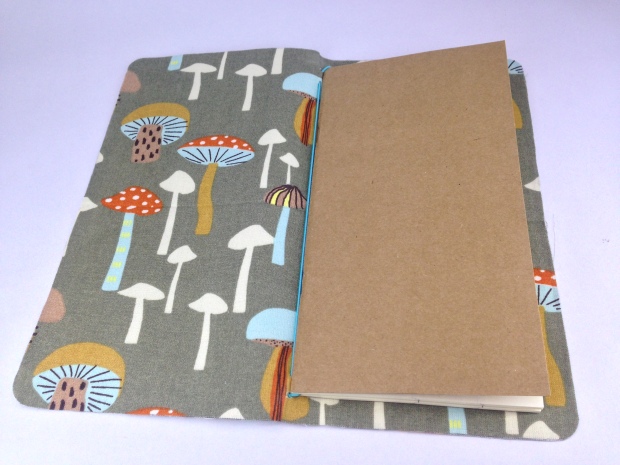
Sadly I followed the tutorial when it came to sizing and ended up with a cover that was way too big for my inserts and sadly just too small for a Moleskin.
As first attempts go I’m pretty happy with this. I do need to find some stiffer interfacing or thick felt to go in between though as this cover is just too floppy to be practical. I’ve had a little bit of fraying but I think the interfacing has taken care of most of it so I don’t feel the need to rush out and buy a sewing machine just to make myself a notebook – even though I really would quite like one.
Em x


